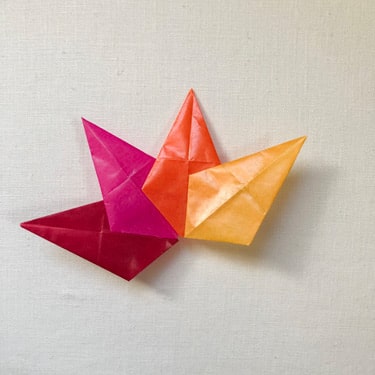
How to Make Waldorf Window Stars
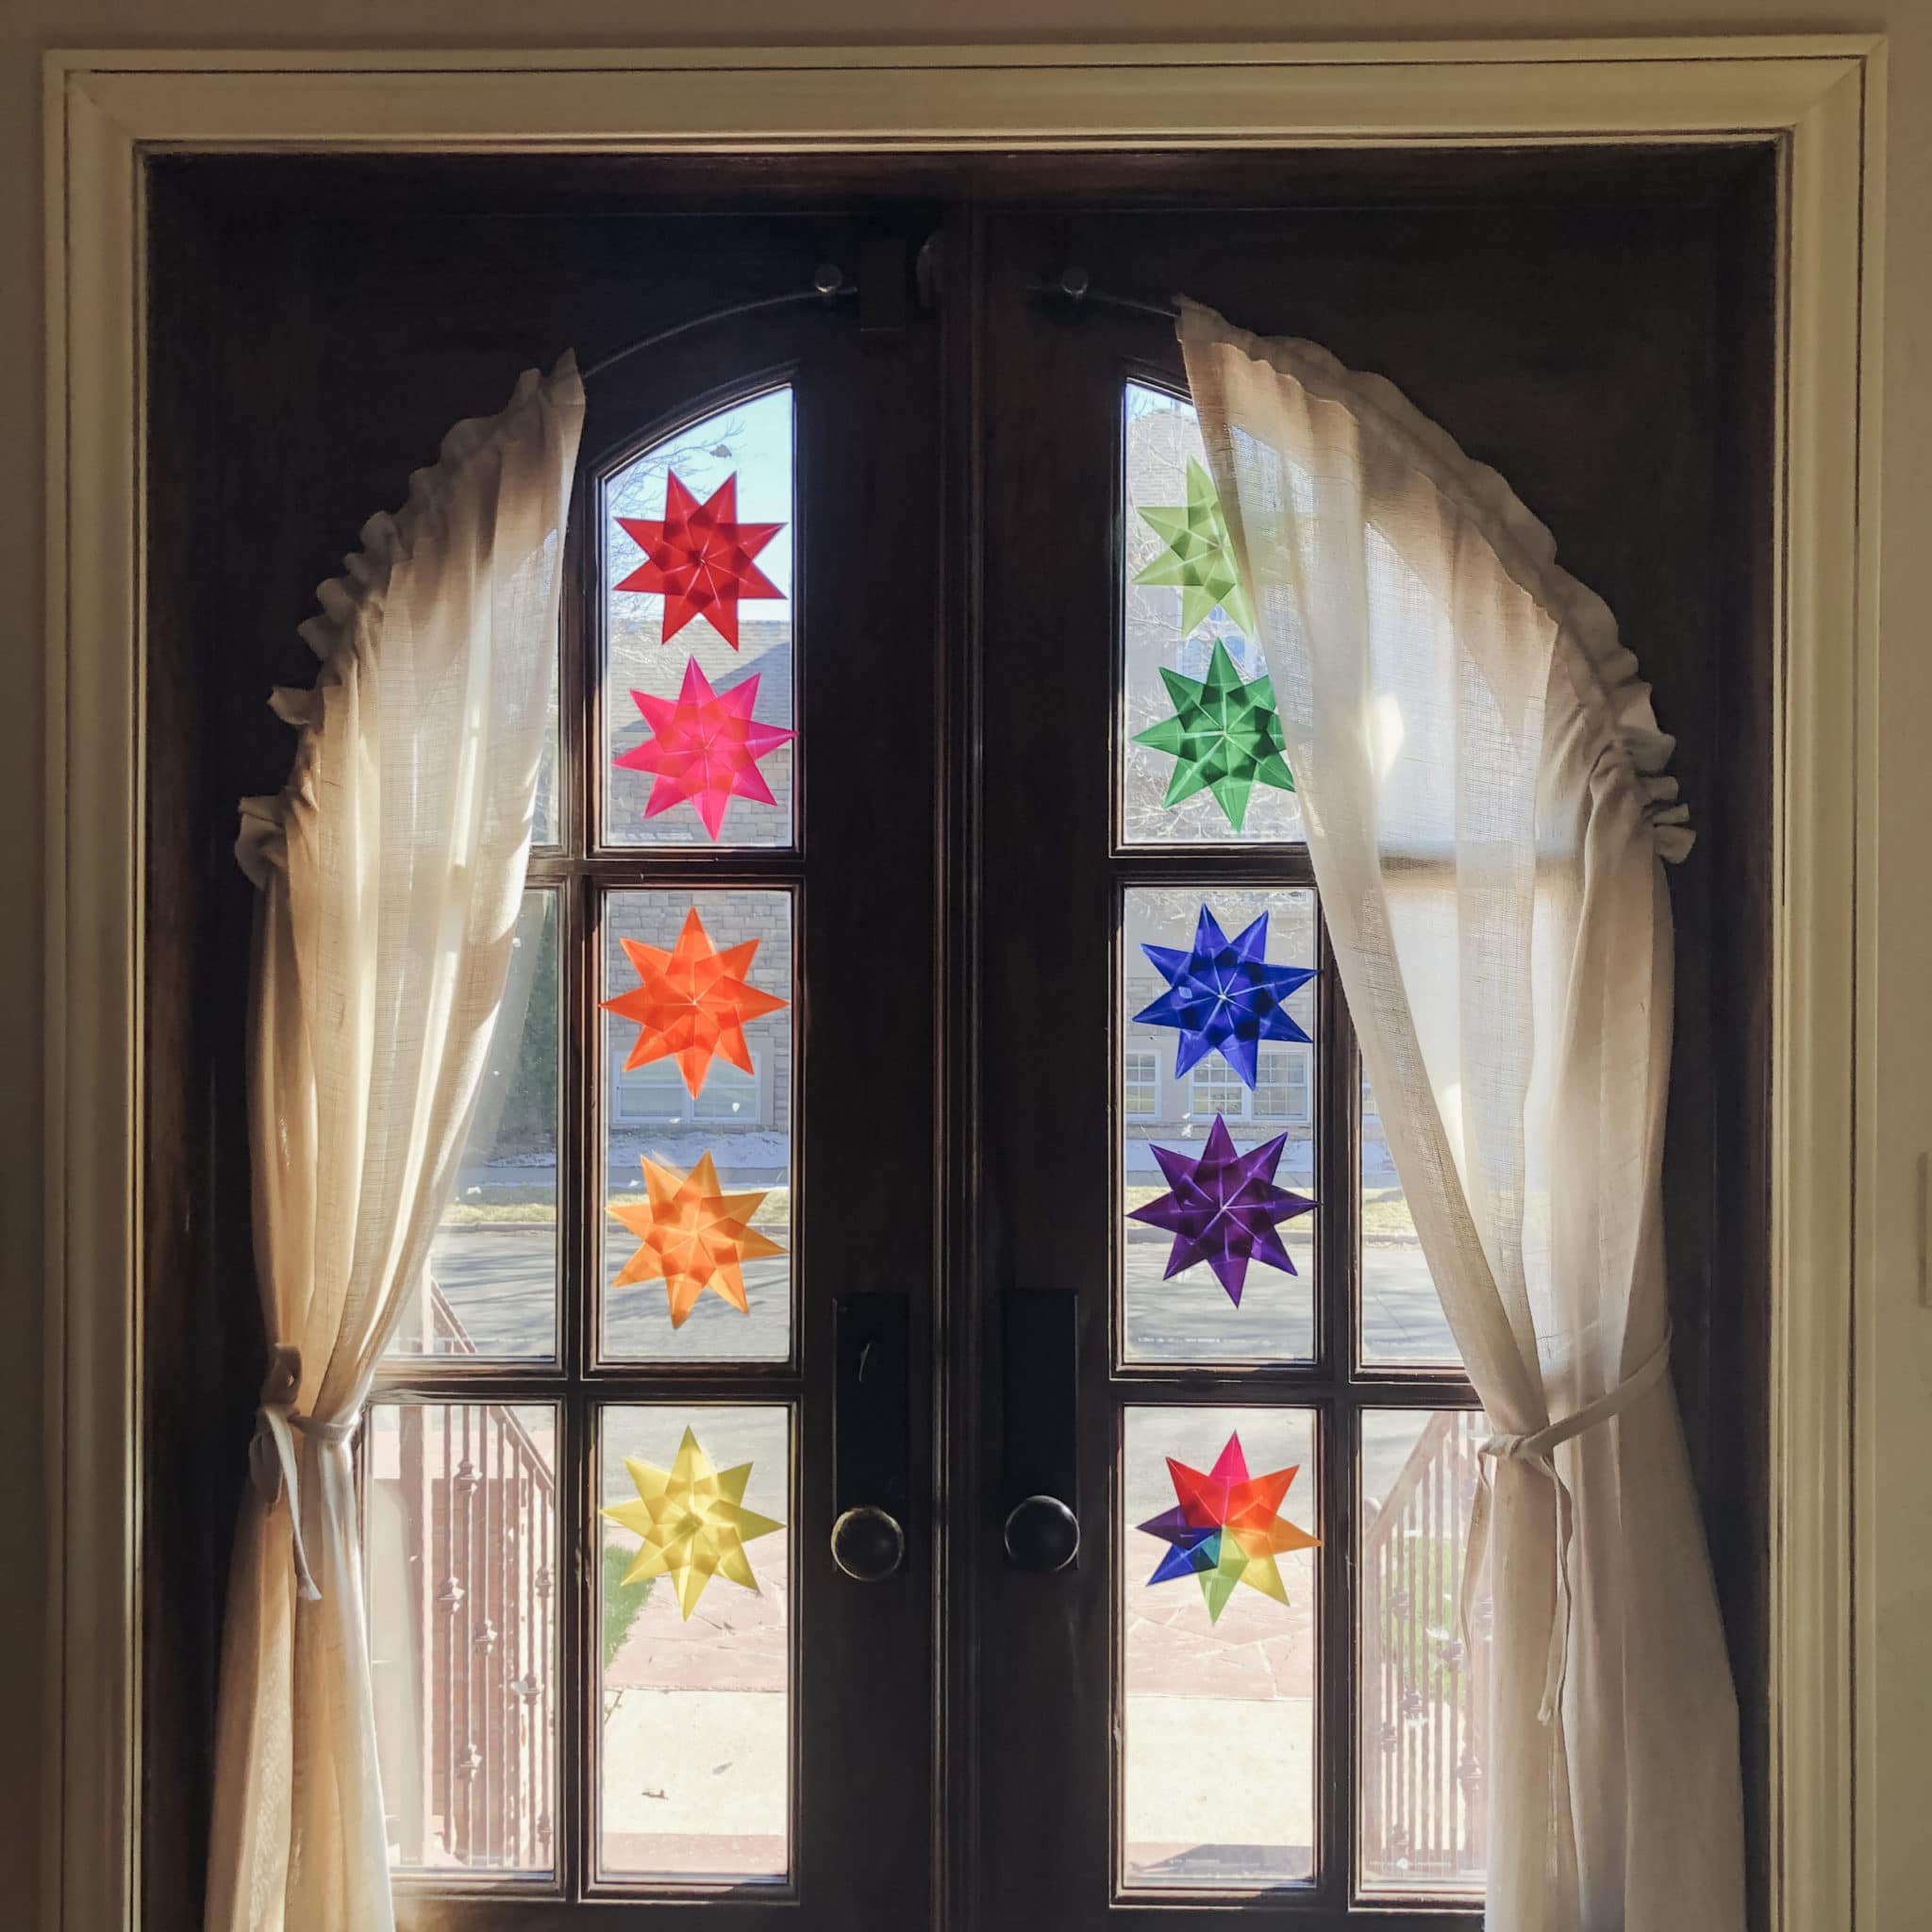
Truth, beauty and goodness are core tenets of Waldorf education. We surround ourselves with wonder and beauty to awaken our spirits and inspire our learning. There is a movement to display rainbows- which symbolize peace and serenity, hope and promise- in our windows at home to bring light and connection to all who walk by. Waldorf window stars have long been a favorite way to brighten our classrooms and homes, and in rainbow colors, we love how they contribute to the optimism of this movement. This is an activity that can be shared easily with little hands to bring happiness to our homes and community! Below we share this simple Waldorf window star tutorial with your families.
Materials
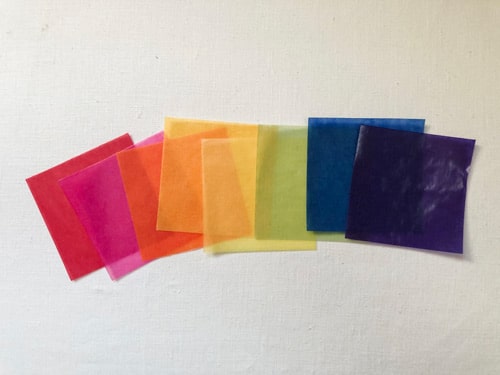
– Kite paper
– Glue stick or glue
– Scissors or paper cutter (if you need to resize your kite paper)
Instructions
Step 1.
Resize your kite paper if needed. The paper we used was 6.3″ x 6.3″, and we cut it into quarters so that we could make smaller stars to fit our window space.
Step 2.
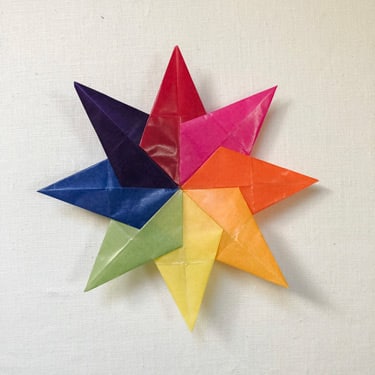
Arrange your prepared pieces of paper in the order that you want your star points to be- you will have eight points, so you need eight pieces of paper!
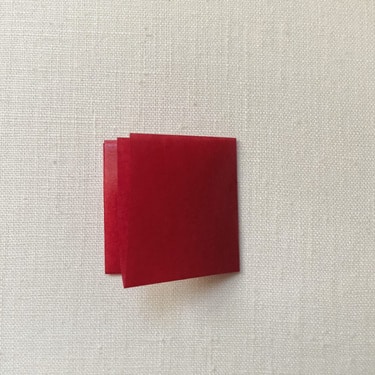
Step 3.
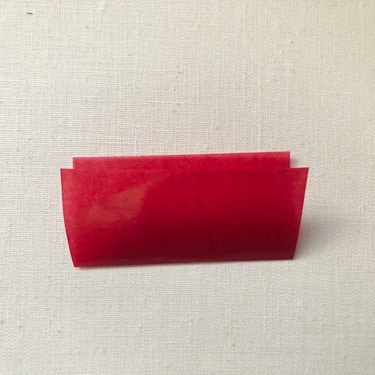
Fold your first square in half
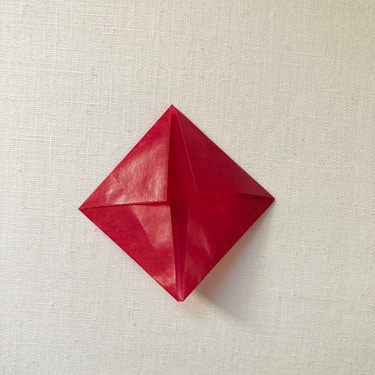
Step 4.
With your paper still folded in half, fold in half again
Step 5.
Open up your paper completely, and then fold one corner into the middle
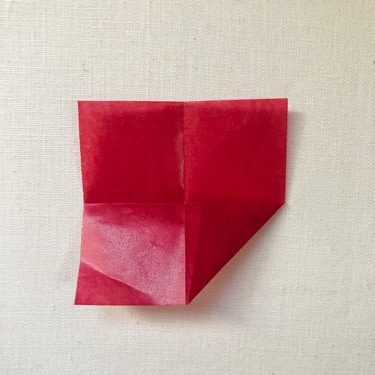
Step 6.
Repeat step 5 with each remaining corner
Step 7.
Fold in two sides so they meet in a straight line at the center

Step 8.
Repeat steps 3 through 7 for remaining papers

Step 9.
Begin gluing your star points together
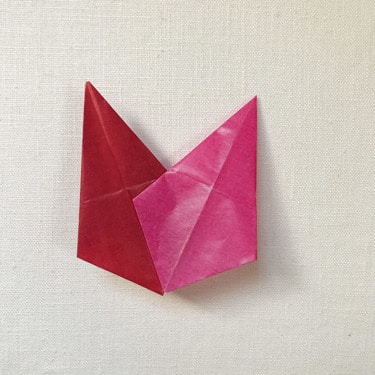
Step 10.
Continue working around your star, gluing each at the center
Step 11.
Make sure your star is dry, and then hang it in your window to spread beauty, light, and love!